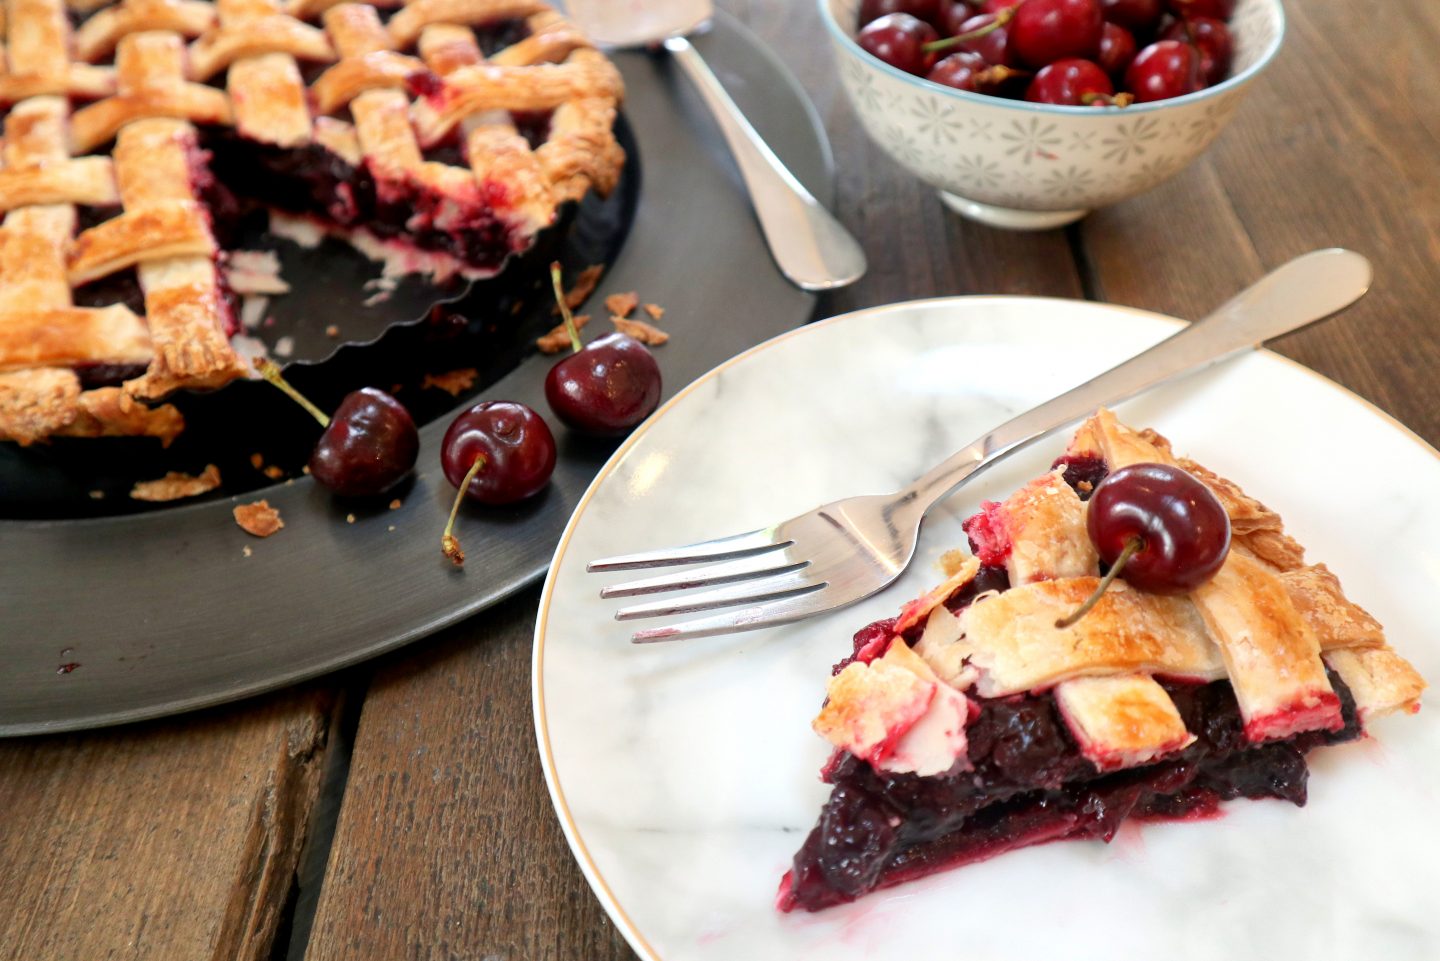
An old fashioned cherry pie is hard to replicate – crisp crunchy pastry and a sweet but tart filling, perfect served hot with cream or ice cream. Being gluten free or coeliac doesn’t mean you have to miss out. This pie is so simple and quick to make gluten free, you won’t know the difference… and it looks beautiful in the centre of the table!
INGREDIENTS
- 750-800g Cherries – Frozen cherries or pitted fresh cherries. Alternatively you can use canned but these usually have added preservatives, that can taste artificial so I prefer to use fresh.
- 1 pinch cinnamon
- 4 tablespoons caster sugar
- 1 pinch of salt
- Juice of half a lemon
- 2 tablespoons of cornflour (+ water to combine)
- 1 egg
- 2 packs of Jus Rol gluten free puff pastry – see HERE
METHOD
- Preheat the oven to 180C, Gas Mark 4 and grease a standard tart tin (approx. 20-23cm across).
- Start by combining the cherries in a pan over a medium heat. Add the sugar and reduce down. Followed by the cinnamon, salt and the lemon juice, and combine well.
- Mix the cornflour with 3 tablespoons of water, then add to the pan. Keep over the heat until the mixture thickens. Once you have a thick fruit filling consistency, remove from the heat.
- Line the base of your prepared tin with one of the pre rolled puff pastry sheets. Push down well into the edges and trim, leaving pastry slightly hanging over around the edge. Fill the base with your cherry pie filling.
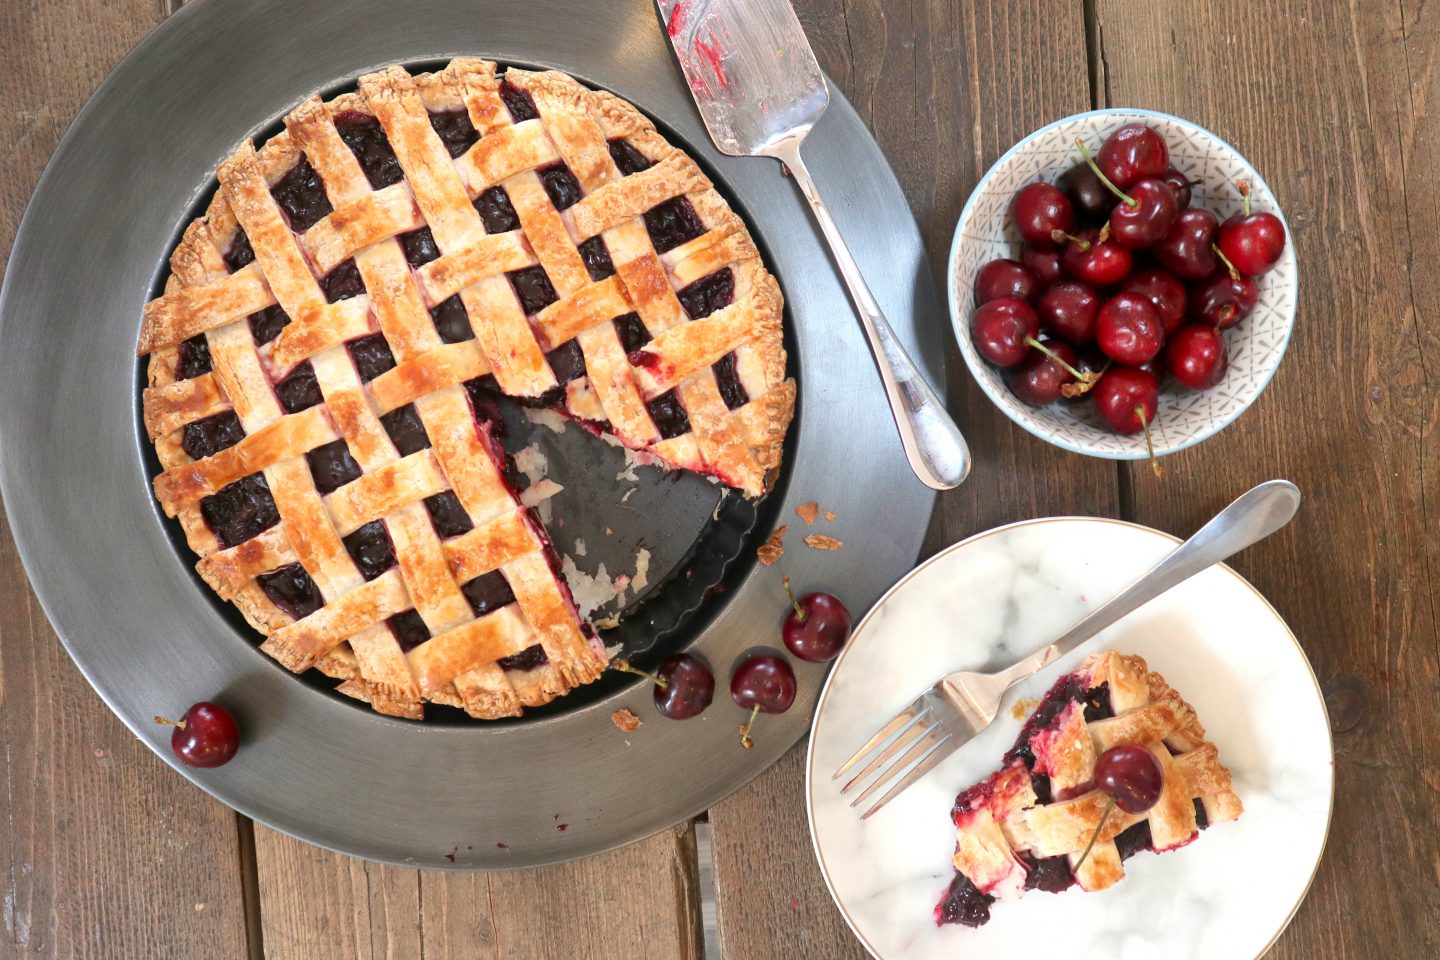
- Take the other sheet and using a ruler, cut strips approximately 2cm in width and all the way down. Practice your lattice for the top of the cake on a plain work surface before you try it on the cake! I found tutorials really useful when figuring out how to do a classic pastry lattice, see example HERE.
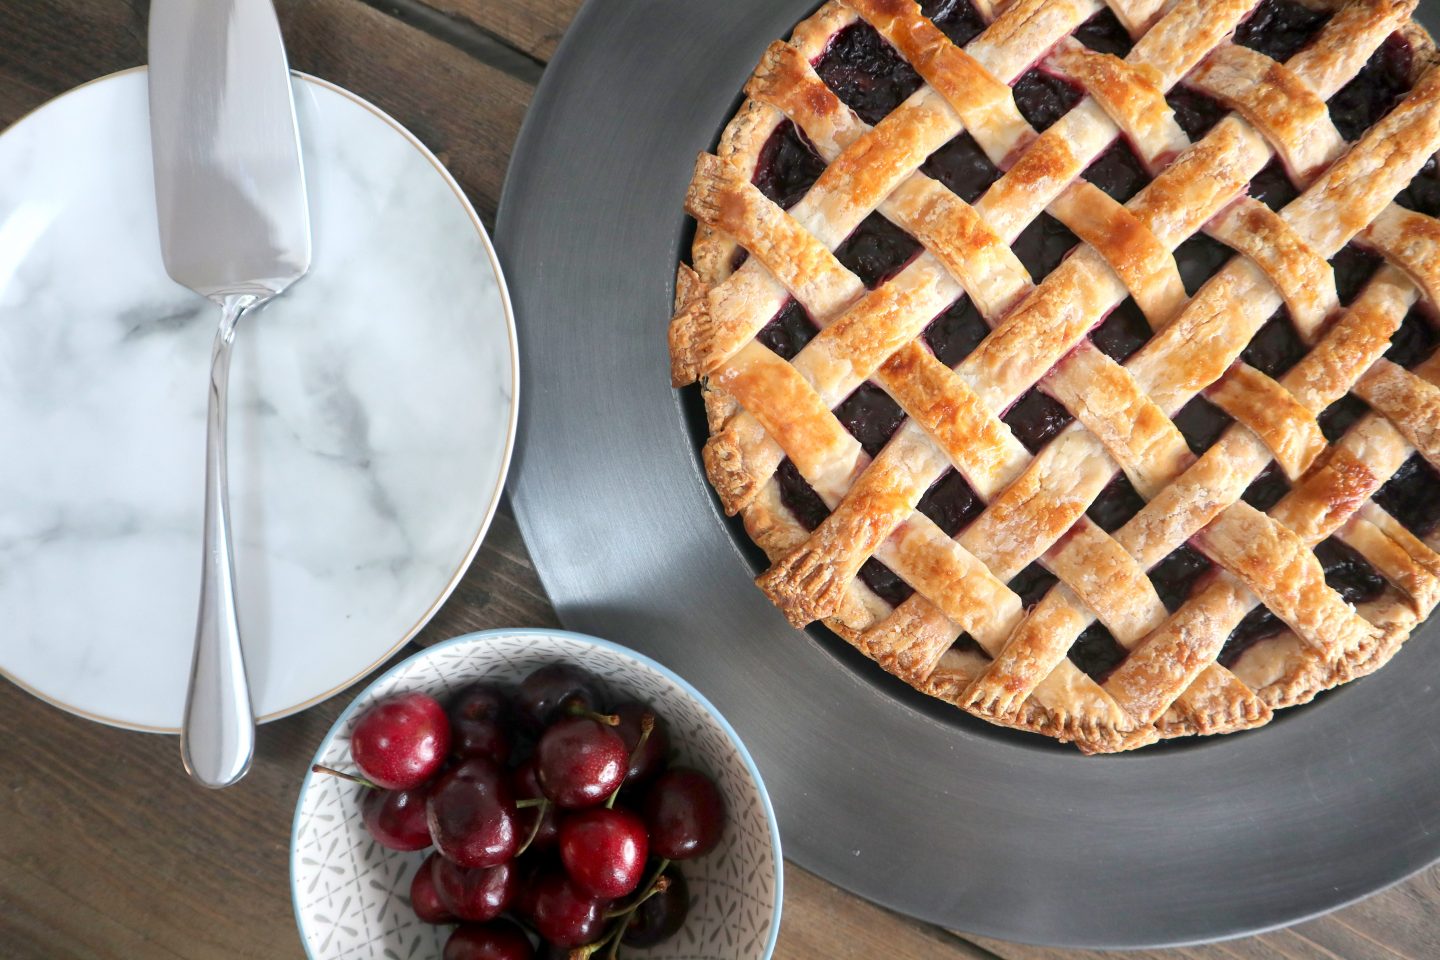
- Once confident, arrange your pastry lattice (or other design if you are going with something different) on the top of the pie.
- Whisk the egg in a bowl and brush over the top of the pastry on the pie, this will help give a lovely shine to the pastry once baked.
- Bake in the preheated oven for 30-40 minutes, until the pastry is crisp and evenly browned on top.
- Remove from the oven and enjoy! Best served with cream or ice cream!
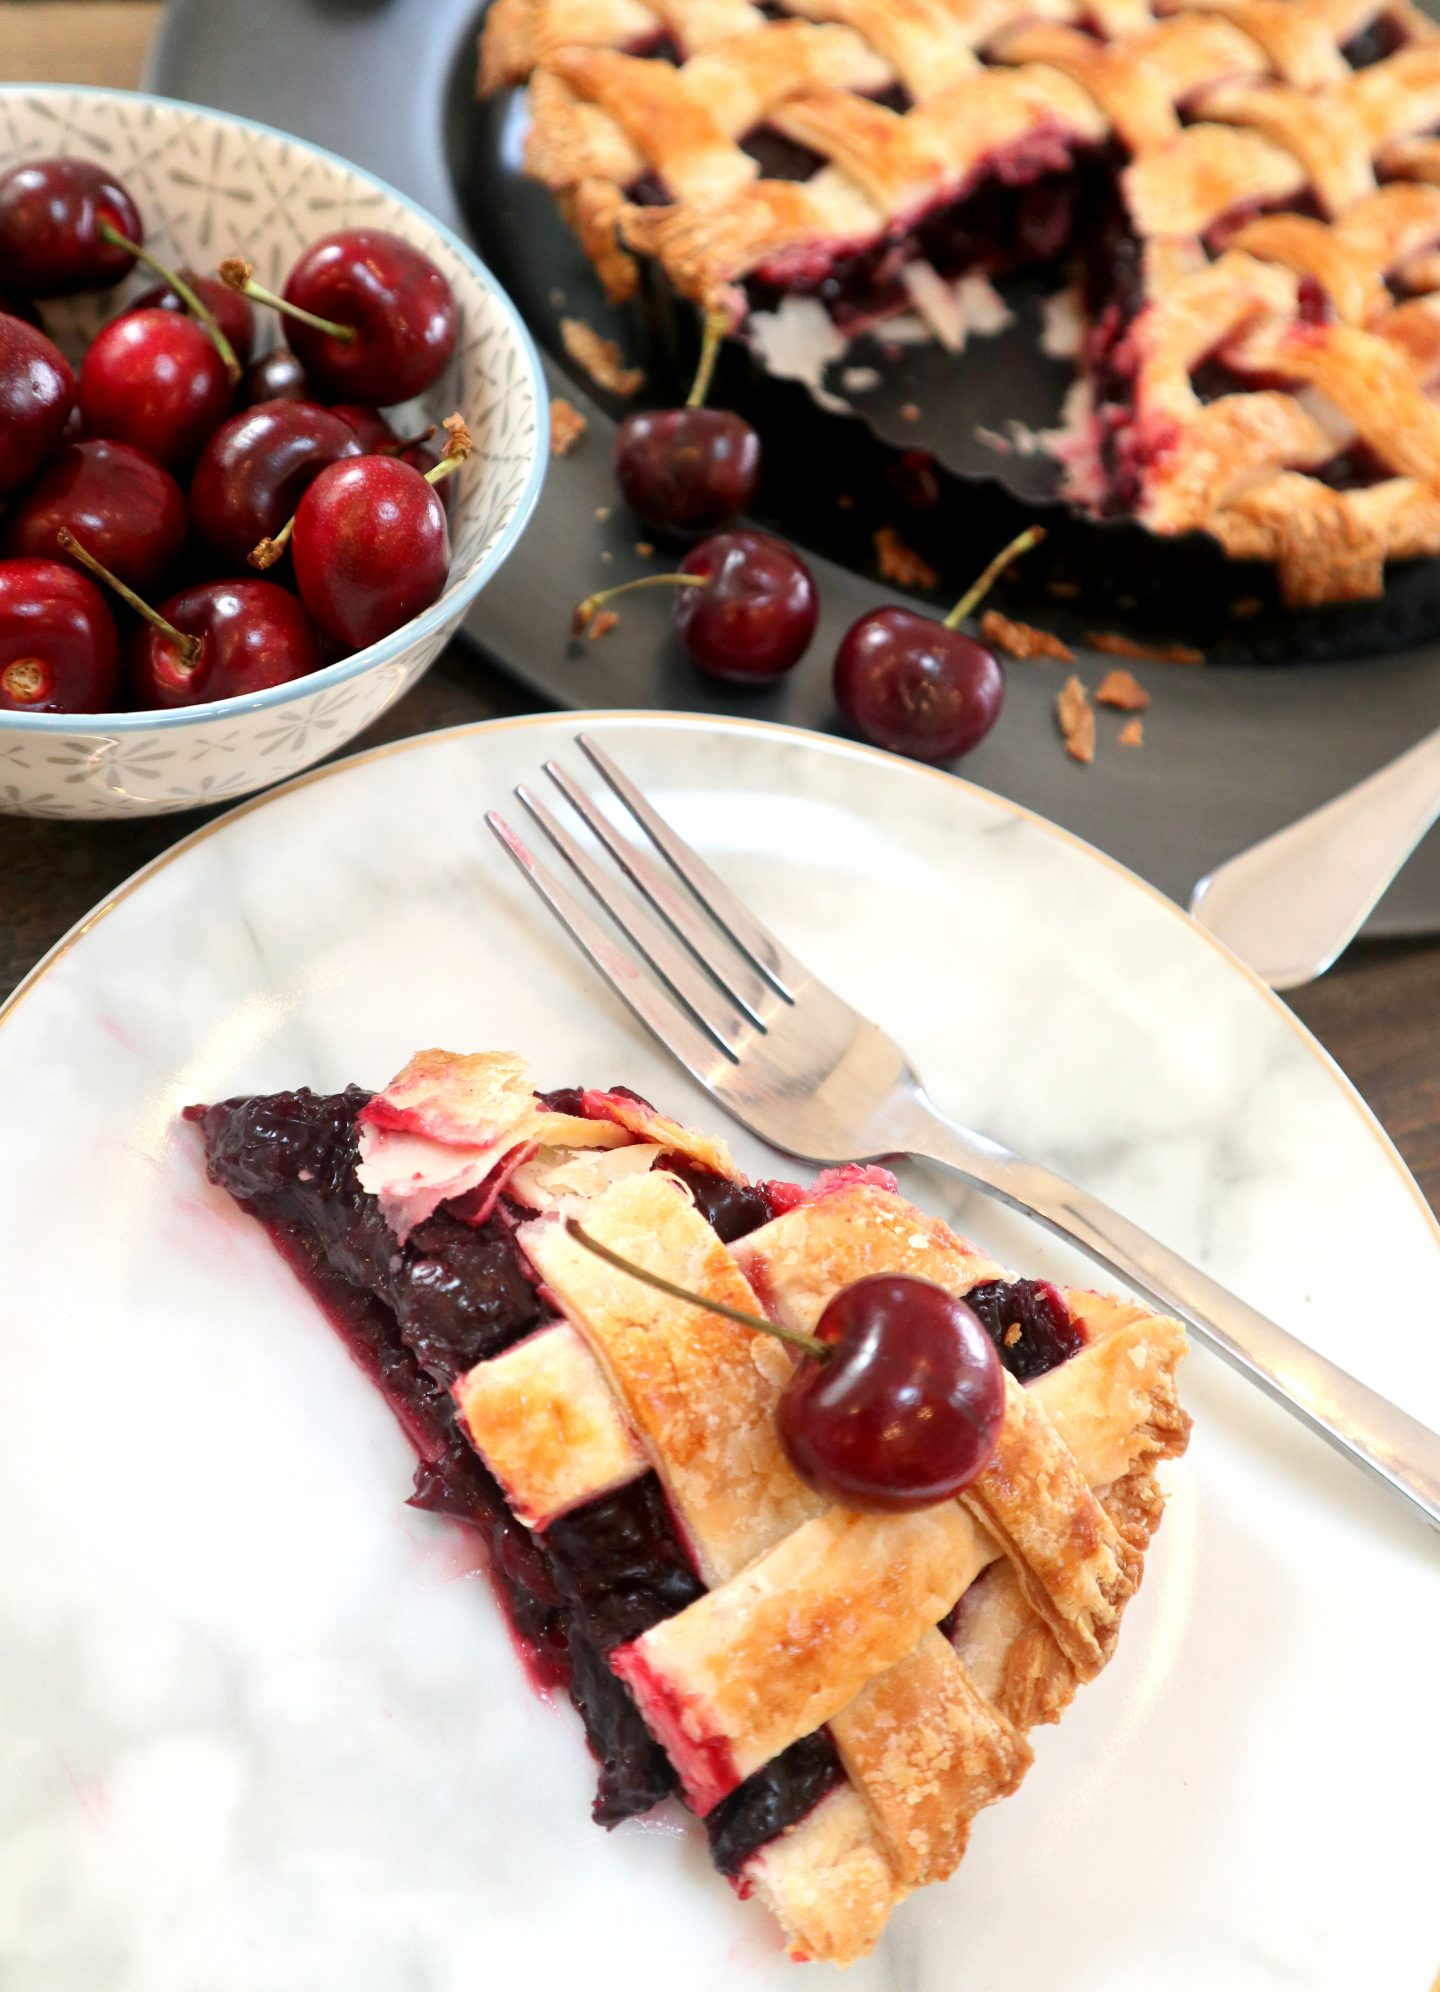
This old school classic will complete any dessert table. You can adapt this recipe to any fruit pie you like – pear, apple, blackberry, raspberry etc. Hope you enjoy it! Give it a go!
What kind of recipe would you like to see next?
K
X
1 comment
I’m gone to say to my little brother, that he should also pay a quick visit this blog on regular basis to take updated from newest gossip.