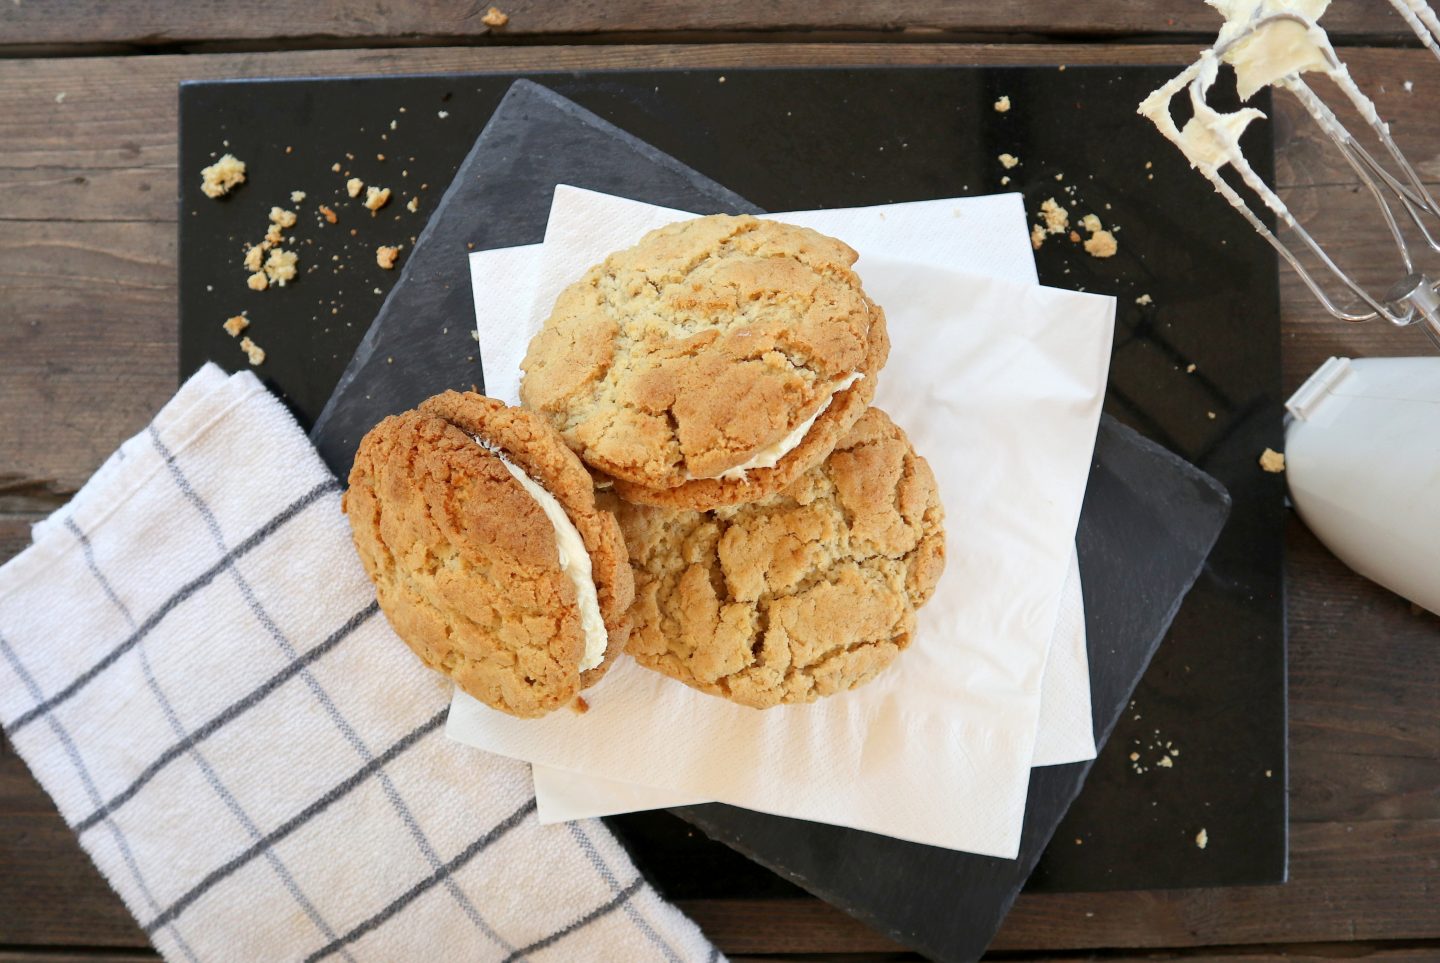
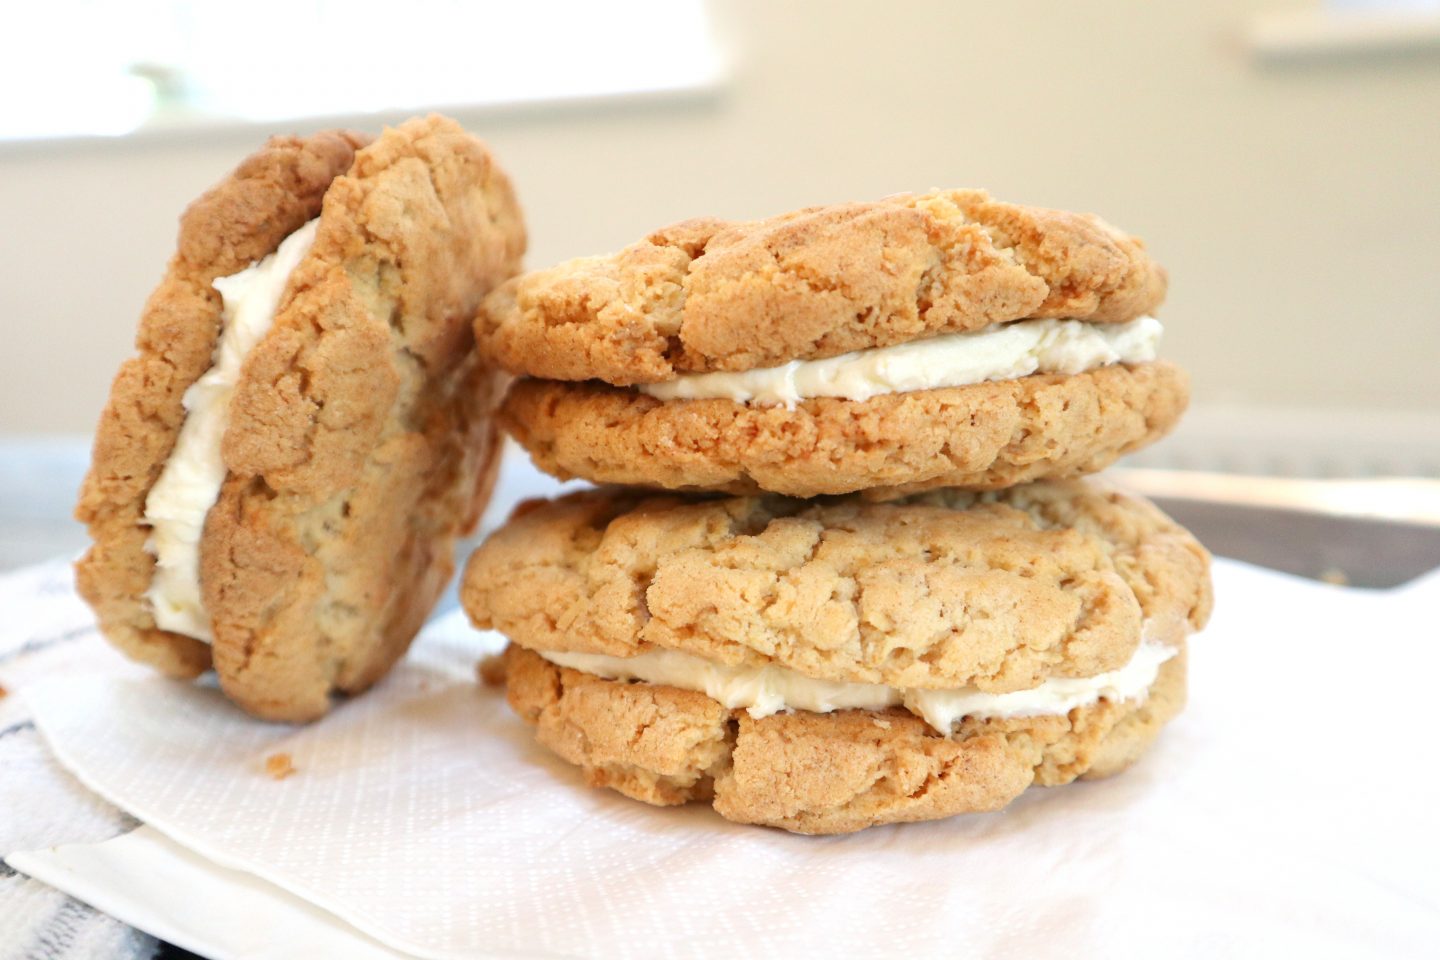
This next recipe is pretty special! Dave introduced me to a ‘gypsy cream’ when we first met, as it was something his grandmother used to make and he wanted to recreate the recipe. Two oaty biscuits, sandwiched together with butter cream… dreamy! There is a lot of butter and sugar in these so they are most definitely classed as a treat! The only challenge was in the past they had never been gluten free, so now I had to create a coeliac friendly version, that still ticked all the boxes. It’s fair to say after a couple of years of trying to perfect the recipe, these taste like the real deal and will quickly become your favourite new bake!
INGREDIENTS
For the biscuit:
- 115g / 4oz unsalted butter (softened)
- 115g / 4oz margarine
- 225g / 8oz caster sugar
- 170g / 6oz gluten free oats
- 225g / 8oz gluten free self-raising flour (I am using Doves Farm)
- 115g / 4oz ground almonds
- 1 teaspoon vanilla extract
- 1 tablespoon golden syrup
- 1 tablespoon hot water
For the butter cream:
- 200g unsalted butter (softened)
- 400g icing sugar
METHOD
- Preheat the oven to 160C, Gas Mark 3. Grease 2 large flat oven trays.
- Start by making the biscuits. Using an electric whisk cream together the butter, marg, sugar and vanilla until light and fluffy. Add the syrup and hot water and beat again.
- Next, Add the flour, ground almonds and oats and beat to create a rough dough. Add more flour if the mixture is too sticky. The mixture should be the right consistency to easily roll into balls, without appearing too dry.
- Roll into medium sized balls that fit in your palms and evenly space them on the trays. The mixture will expand so do not make them too big, or put them too close together on the trays.
- Bake in the preheated oven for 15-17 minutes until just turning golden on the tops. Remove from the oven and let them cool and harden before removing them from the tray with a spatula.
- While they are cooling, make the butter cream. Beat the butter well until turning paler in colour. Gradually add the icing sugar and keep whisking until fully combined. Beat well until you achieve a smooth buttercream.
- Once the cookies have cooled you can sandwich them together. It’s up to you if you pipe the buttercream or just apply it with a spoon, either works fine.
- Enjoy!
I often double the recipe to make an even larger batch, because they don’t last very long in our house!
I hope you love this recipe as much as we do and get to give them a try for yourselves!
K
X